

Overview
In this guide, you’ll deploy the Quickstart app from LocalNet to DevNet. You’ll deploy the original DAR, deploy to the backend, frontend and test the workflow. You should have the Quickstart application installed and understand thequickstart-project-structure-guide.
DevNet validator prerequisite
You must have successfully submitted a validator request to successfully complete this guide. Submit your request at: https://canton.foundation/apply-to-set-up-a-validator-node/ Visit the global synchronizer docs to learn more about the validator onboarding process and how to deploy a validator with Docker Compose. You can find up-to-date Canton Foundation DevNet Super Validator Node Information at: https://canton.foundation/sv-network-status/Architectural overview
The Quickstart DevNet deployment splits across two components:- splice-node: Provides the validator infrastructure (participant, validator, wallet-ui, ans-ui)
- cn-quickstart: Provides the application layer (keycloak, pqs, backend-service, frontend)
splice-node ports are internal container ports and routed via nginx by
hostname. cn-quickstart ports are directly exposed.
The frontend communicates with the backend via HTTP REST calls to
/api/* endpoints. The Vite development server proxies these requests
to the backend, which translates them into Ledger API calls. For a
detailed explanation of this fully mediated architecture, see
quickstart-project-structure-guide.
Quickstart configuration for DevNet
Quickstart environment variables are set forLocalNet usage by
default, but ledger connections differ between LocalNet and DevNet
configurations. For example:
Configure Host entries
nginx.conf uses virtual hosting to route requests to backend services.
As a result, nginx inspects your Host HTTP header to determine backend
routing. Add explicit host entires for reliable routing.
Add these entries to /etc/hosts:
DevNet Host Entries
The nginx proxy routes based on hostname. Default port is 80. MacOS
users may need to change the validator port from 80 to 8080 to avoid
vmnetd errors. See vmnetd-error in the Troubleshooting section.
Download the Splice node release bundle
InDevNet, your Splice node validator runs locally and connects to the DevNet synchronizer.
Download and extract the Splice node bundle by following the Requirements
step in the Docker Compose Validator Deployment guide.
The extracted splice-node directory and cn-quickstart should be
siblings to one another:
Find the most recent Splice release on the canton-network/splice releases page.
Navigate to the validator’s Docker Compose directory
Connect to a Canton Network Validator Node
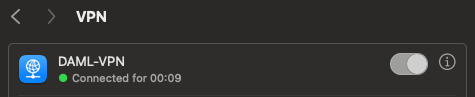
Navigate to your OS’s VPN settings, then connect to your sponsoring validator node. VPN access is required forDevNet. Contact your sponsoring SV for VPN
credentials.
Mac OS
Settings > VPN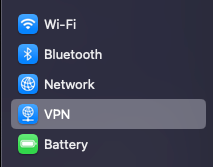
Linux
Network > VPN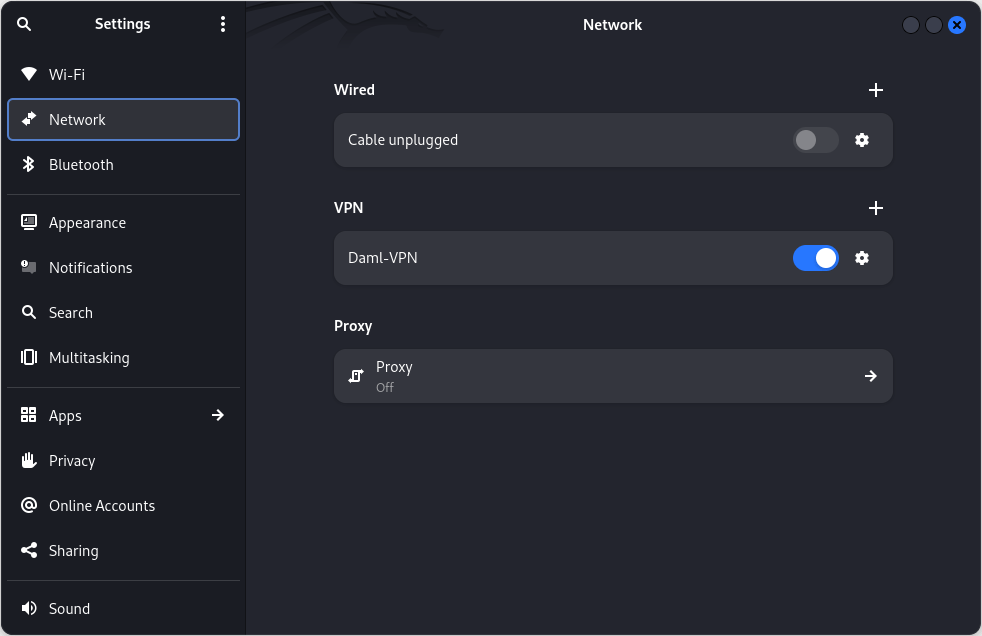
Clean Docker
Clear Docker If this is not your first time connecting toDevNet so
that stale containers do not interfere.
Get network information
Retrieve DevNet migration ID and Splice version
In terminal, from the/validator directory run:
SPLICE_VERSION rather than
saving the most recent version, e.g. SPLICE_VERSION=0.6.4
Get the onboarding secret
You may use the following Super Validator URL if you are connected to the Canton Network Global Synchronizer. If not, your sponsoring SV will provide the appropriate URL. In this case, you must replace the providedSPONSOR_SV_URL with your provided URL.
Tip
The onboarding secret is only good for 1 hour. If containers ever show
unhealthy, try requesting a new onboarding secret as your first step in
troubleshooting.Party Hint
Set a Party Hint. The party hint must match the expected hint that is established when runningmake setup from cn-quickstart/quickstart.
If you don’t remember your party hint, you can open a terminal and
navigate to cn-quickstart/quickstart/, then run make setup.
The default party hint is quickstart-USERNAME-1
Return to the terminal in the validator directory. Set PARTY_HINT.
Authentication
Note
If you would like to connect to DevNet without authentication, you may
skip this section and initiate the start.sh script without the -a
flag.splice-node/docker-compose/validator/.env using Quickstart’s
pre-configured Keycloak values. The following Authentication values can
be found in cn-quickstart’s keycloak env, realm and user JSON files.
Files include
quickstart/quickstart/docker/modules/keycloak/compose.env,
AppProvider-realm.json, and AppProvider-users-0.json.
splice-node/docker-compose/validator/.env
Note
These are development secrets and should be changed for production.Start the validator with the start.sh script.
Verify that you are in thevalidator directory, then run this command
to connect to DevNet:
Flag descriptions
Note
You can omit the -a flag to skip authentication setup. This may make
initial testing easier, but you should enable authentication for
production use.DevNet is starting, move on to the next step. (You’ll need to
complete the next step before DevNet is able to connect).
Spin up the Quickstart DevNet
In a second terminal, navigate to the QuickstartDevNet Docker Compose
directory.
DevNet connects shortly after spinning up the docker containers. A
successful connection shows healthy containers.
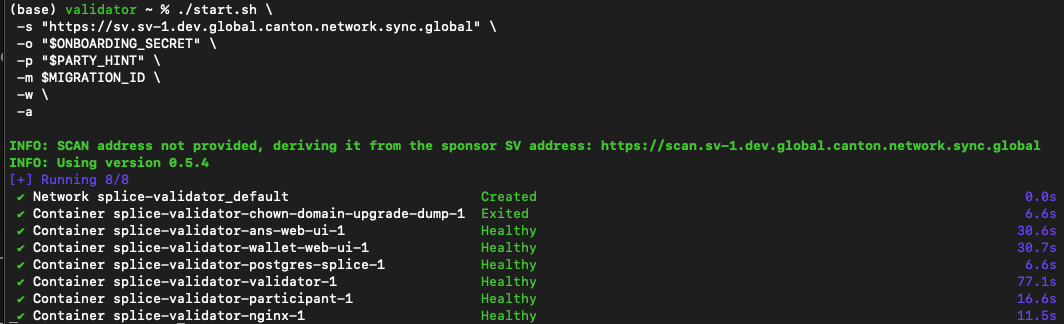
Note
See the Troubleshooting section if you experience a vmnetd error.Build and upload the DAR
Return to the/quickstart directory.
DAR was created.
DAR file.
Upload the DAR to your DevNet validator
Get a token from Keycloak to make an authenticated request:client_secret matches the app-provider-validator’s
secret in Keycloak’s AppProvider-realm.json).
From the /quickstart directory, upload the DAR to your DevNet
validator (MacOS users replace ${LEDGER_PORT} with 8080):
MacOS
Linux
{} indicates a successful upload.
Build the Backend
Build the backend from the/quickstart directory:
Configure Quickstart frontend for DevNet
The frontend communicates with the backend via HTTP REST calls to/api/* endpoints. The Vite development server proxies these requests
to the backend, which translates them into Ledger API calls to the
DevNet participant. Review vite.config.ts for details.
Build the frontend from the /quickstart directory:
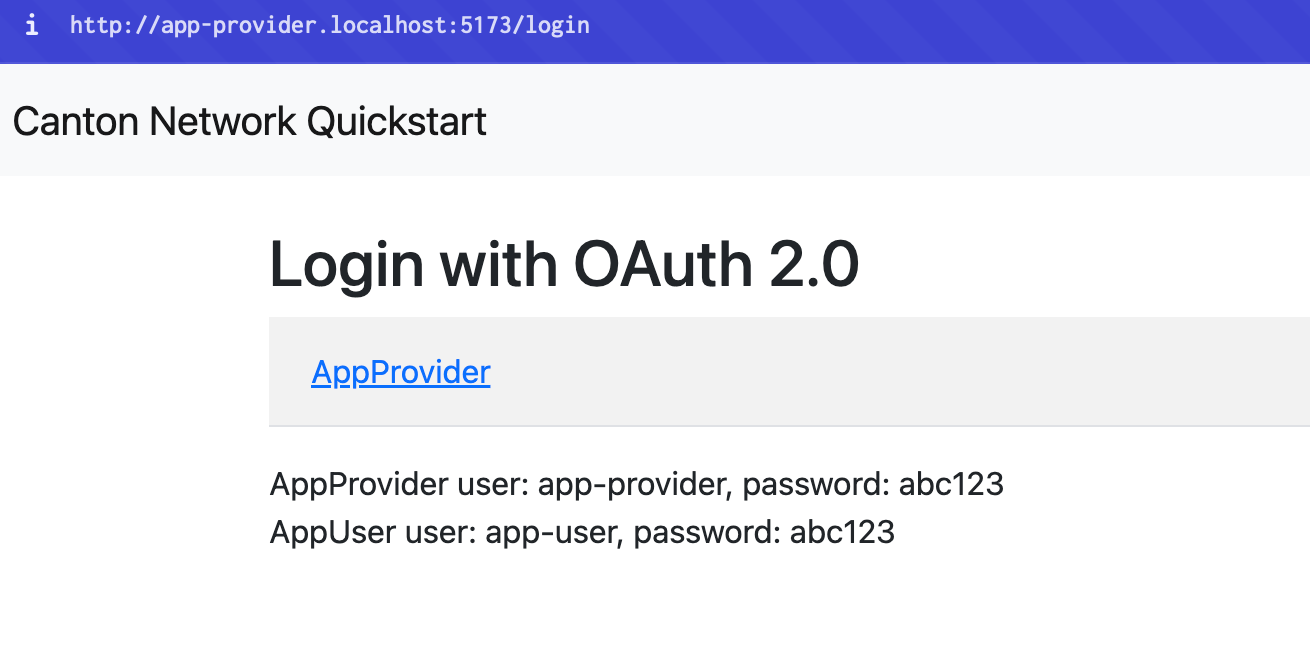
port 5173. Open your browser to:
http://app-provider.localhost:5173
It’s extremely important to prepend localhost with app-provider in
order to successfully log in through Keycloak.
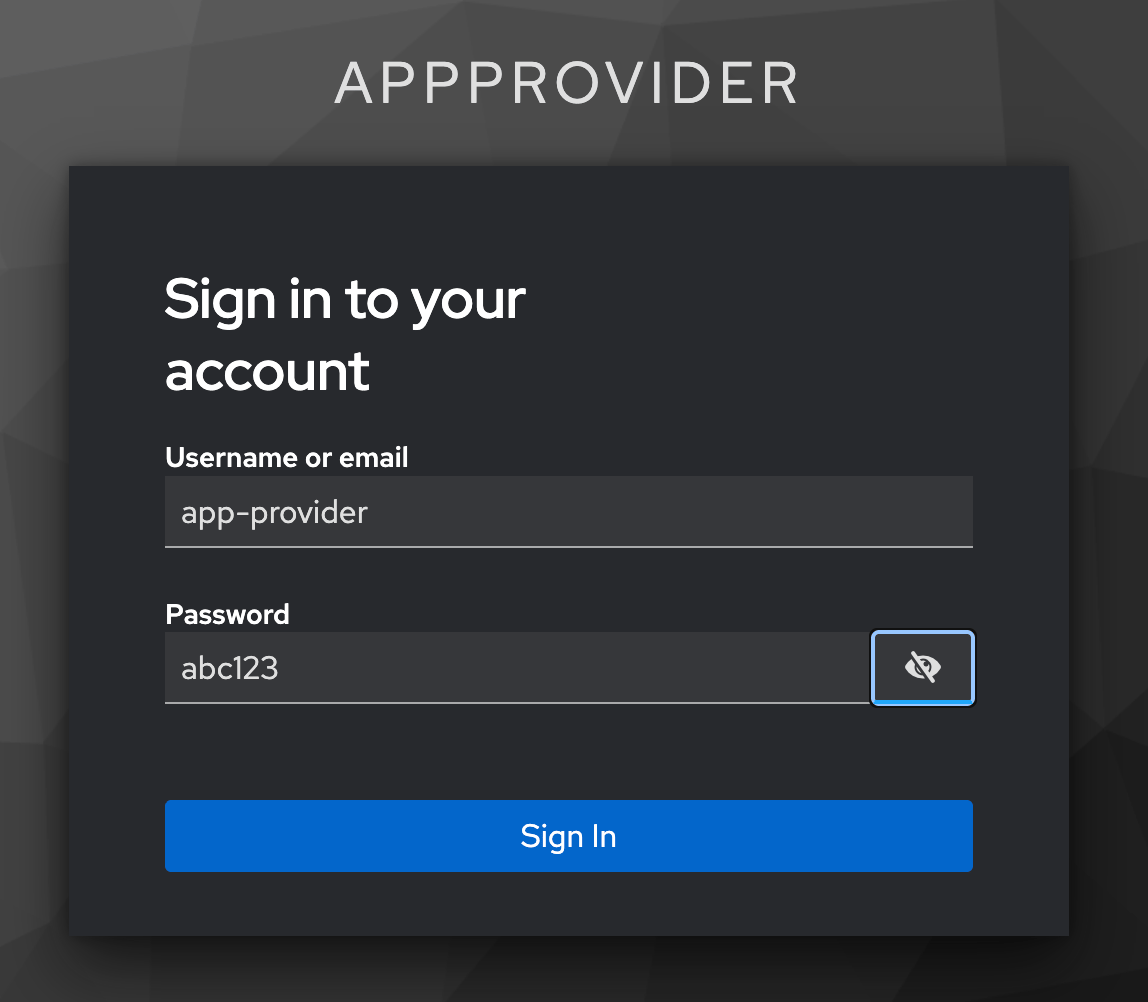
Select AppProvider
app-provider with password abc123
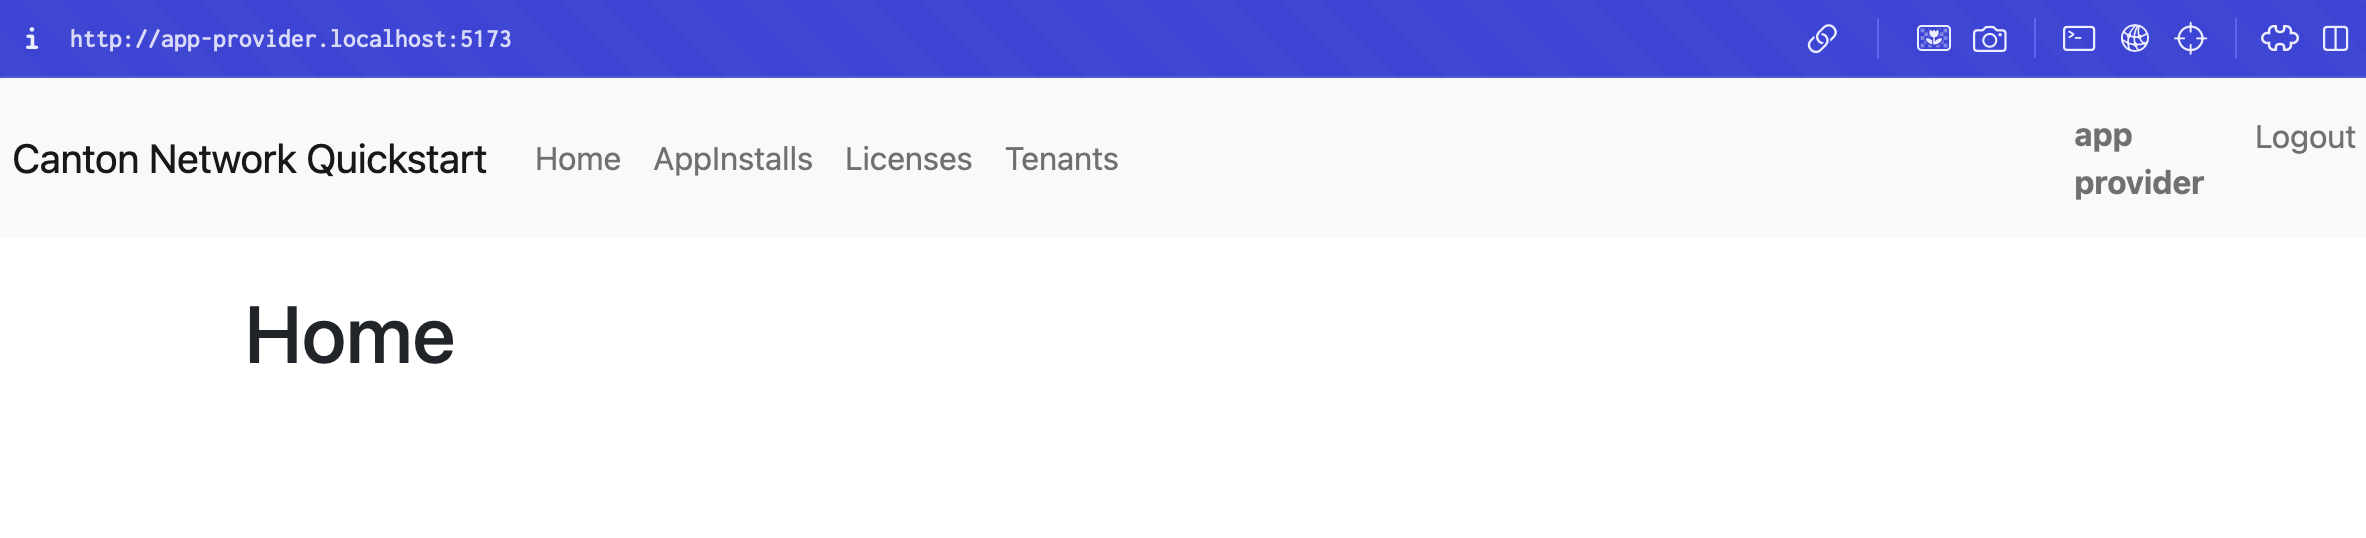
DevNet!
Note
Quickstart won’t immediately operate as it does on LocalNet. You’ll
need to refactor to resolve connectivity issues. Perhaps begin with
make create-app-install-request.Appendix
Recipes
Start and stop scripts
In the future, use the providedstart.sh and stop.sh scripts to
quickly start and stop Quickstart DevNet Docker containers.
Use ./start.sh to run a live log stream in terminal. (exit with
ctrl+c) Opt for ./start.sh -d to spin up the containers without a log
stream.
Stop all of the Quickstart DevNet Docker containers with ./stop.sh.
You may also remove the volumes with ./stop.sh -v.
Health check
You can check that Docker services are connected by checkingdocker ps. To check a specific service use grep. e.g.
docker ps | grep backend-service.
Super validator connectivity check
You may make a connectivity check to theDevNet super validator at
anytime:

View tables
You can explore the container schema by querying the list of tables.Confirm current migration ID
Find DSO fingerprint
Docker
Read docker logs
Kill running containers
Stop gracefully
docker ps -q lists the container IDs of running containers $()
passes those IDs to the kill or stop command
Remove containers after stopping
One command
Troubleshooting
Resolve vmnetd errorIf you experience a vmnetd error response then the most
straightforward solution is to update the validator compose port from 80
to 8080.

nginx service
in splice-node/docker-compose/validator/compose.yaml. It is currently
at line 163. Change port 80:80 in "${HOST_BIND_IP:-127.0.0.1}:80:80"
to 8080:80.
splice-node/docker-compose/validator/compose.yaml
Troubleshoot frontend JavaScript mapping errors
Switch BACKEND_PORT from 8080 to 8089
Opencn-quickstart/quickstart/.env in a text editor and change
BACKEND_PORT=8080 to BACKEND_PORT=8089.
Update proxyReq in vite configuration
Change line 35 invite.config.ts from
proxyReq.setHeader('host', 'app-provider.localhost') to
proxyReq.setHeader('host', 'app-provider.localhost:5173').
Ping app-provider.localhost
Check backend-service logs for errors
Find the login options
Get token for backend API access
Verify token was retrieved
Query data from PQS
Query app install requestsError port is already in use
If terminal showsError: Port 5173 is already in use identify and kill
the associated node process, then run your command again.
Restart unhealthy Docker containers
If you have trouble connecting to healthy containers, restart the Docker containers and capture full logs. Stop the containersplice-validator-validator-1 with the desired container.
Keycloak
Note
You can login to the Keycloak admin GUI at
http://host.docker.internal:8082/ Use admin for the username and
password.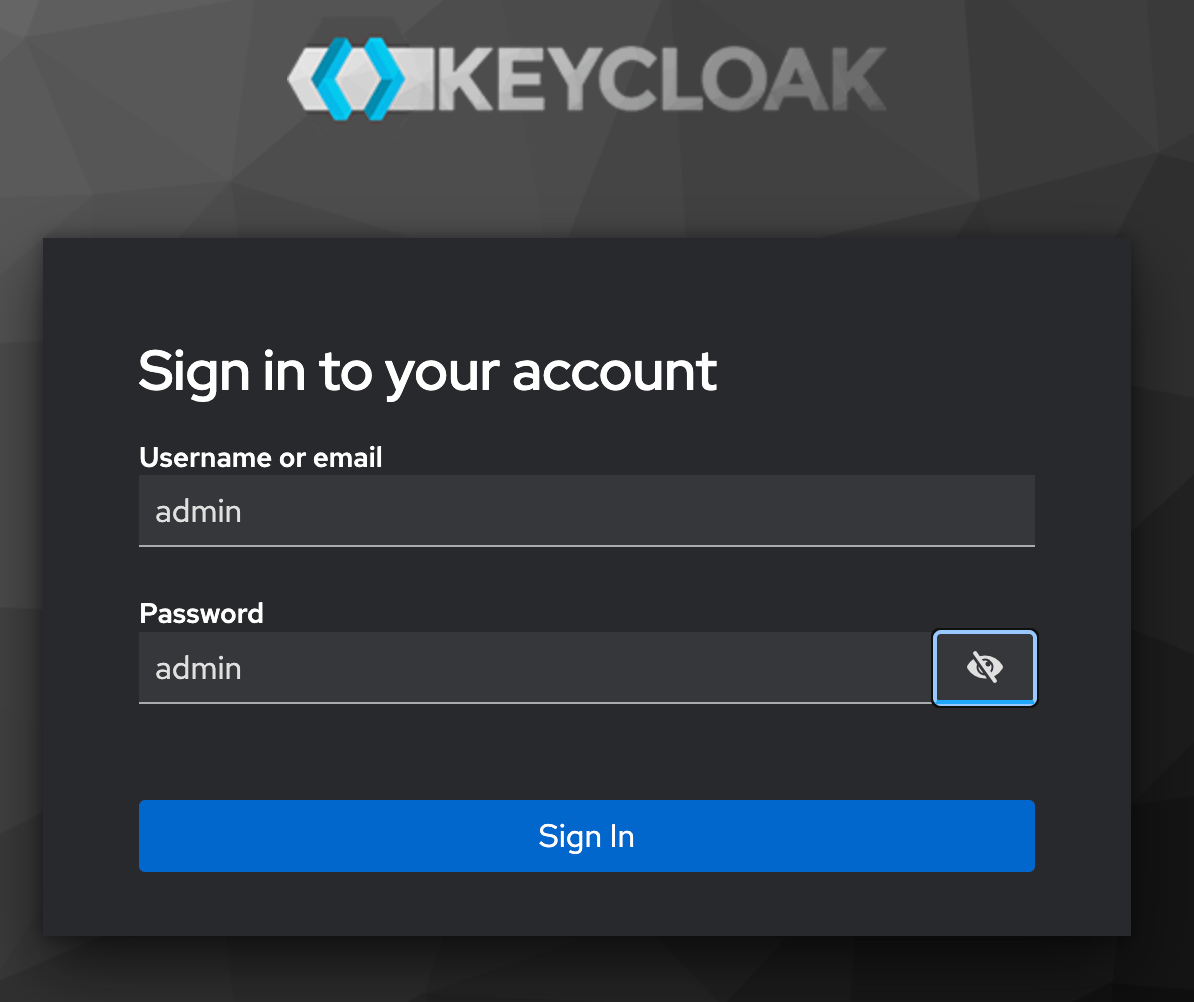
AppProvider realm token:
AppUser realm token:
"http://host.docker.internal:8082/realms/AppProvider"
Unable to login to Keycloak as admin
localhost:8082.
Splice-onboarding troubleshooting
Find specific env values:splice-onboarding container:
splice-onboarding networks:
splice-validator-nginx is on:
splice-onboarding is initialized:
Splice-onboarding connection issue
If you runsplice-onboarding logs and see:
LEDGER_HOST or LEDGER_PORT. Unset
the variables or quit and restart terminal.